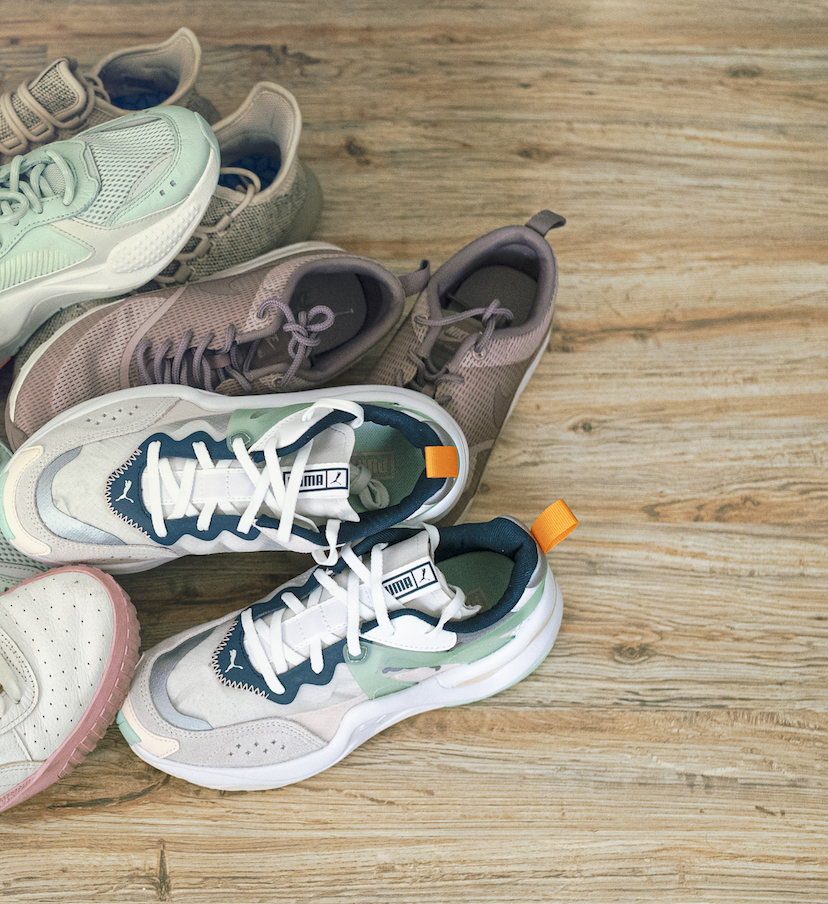
I keep taking a look at my sneaker storage, where my prized collection is currently happily resting, social distancing, and taking a break from being worn out. Can’t help but feel a bit melancholic over the missed debut outfits I had planned all for the new kicks. But, we all have a pair of sneaks that needs to be refreshed and cleaned out before unconsciously trashing them. So, before the world is ready for that long-awaited debut, here’s a guide in adding some finesse to your dirty kicks, and on storing them wisely!
I can’t think of any other sneaks that require more attention than the ‘white’ ones we own. They are easily affected by any scratch, and because of their fair color, they are more likely to get dirty real fast. Color is just one factor to consider once you’ve set out on cleaning your kicks, the other one is fabric. Depending on what material your sneakers are made of, whether it is suede or mesh, which usually requires a certain kind of treatment, these steps should still help clear out prominent dirty spots.
TOOLS
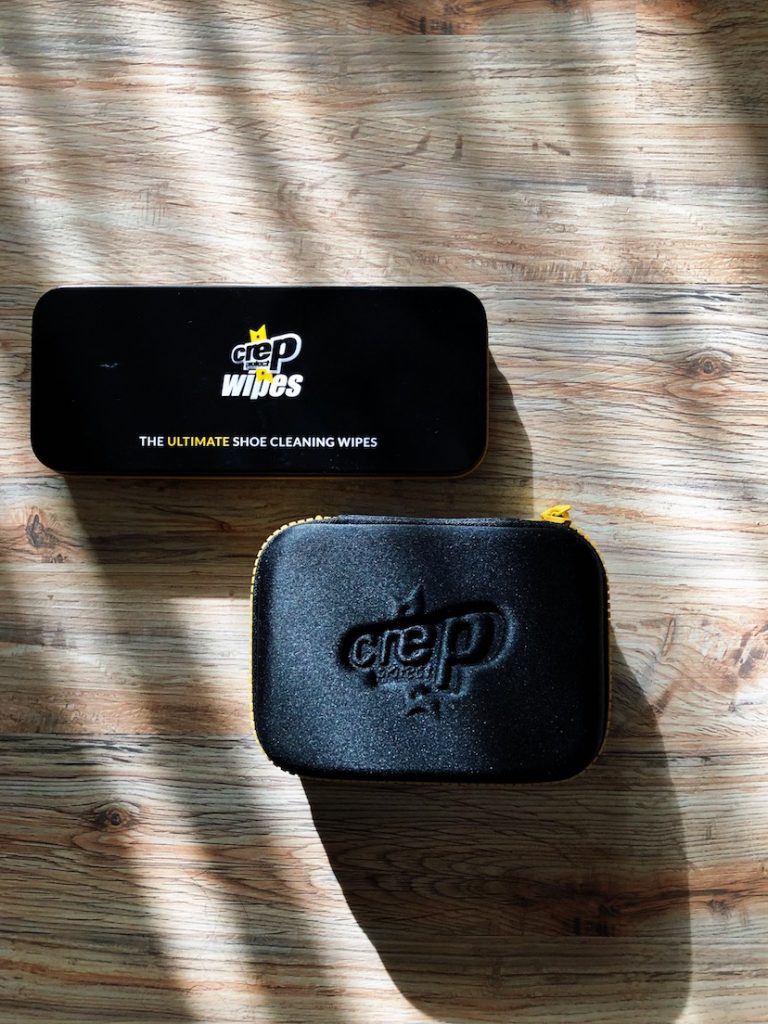
Here are the essential tools you’ll be needing: A brush, cleaning solution, toothbrush, microfiber towel, quick wipes, small bowl/bucket filled with hot water, and finally, your dirty sneaks! If you don’t have some of these tools, you can easily find a good selection and order them online at footlocker.


TEN STEPS FOR THAT RESPECT
- First things first, set up all your tools in front of you and make sure to remove the laces before you start.
- Knock the soles of your sneaks to remove any excess dirt, use a soft brush, or a damp microfiber towel and rub off the remains.
- Next, use quick wipes to spot clean your kicks. Use a dab and twist motion on those nerve-wrecking stains, it’ll help in removing most of them!
- Moving onto the deep cleanse. Personally, my white and pastel colored sneaks always require extra attention with this step. Take the brush, dip it in the hot water (some cleaning solutions would instruct in applying it either with the water, or on the brush), apply the brush on your kicks and start scrubbing gently.
- For hard-to-reach corners, don’t forget to use the toothbrush for a tiny yet satisfying scrub.
- Rinse by using the microfiber towel to both remove soap and dry off after scrubbing. Have a look at your kicks first before deciding if it needs extra scrubbing, and if so, repeat the last step!
- I can’t tell you how many times I literally destroyed the midsoles on some of my sneaks… But here’s a tip, if the brush isn’t performing well, take up a sponge, dab a little bit of water and cleaning solution on it, and get back to scrubbing the living hell out of it, only if your kicks can take it though!
- Time to lace it up. But before you do that, you can take the easy route with this one and simply put your shoelaces in the washing machine. If you want to raise the bar, get brand new colorful laces and upgrade your sneaks to the next level.
- Leave your now refreshed sneaks to dry overnight.
- Finally, grab a water-proofing/weather-proofing spray, and coat your sneaks. This is the most important step as it will keep them protected for a while. Also, make sure to read the instructions on your spray cans as each brand differs from the other.

STORE ‘EM IN A BOX
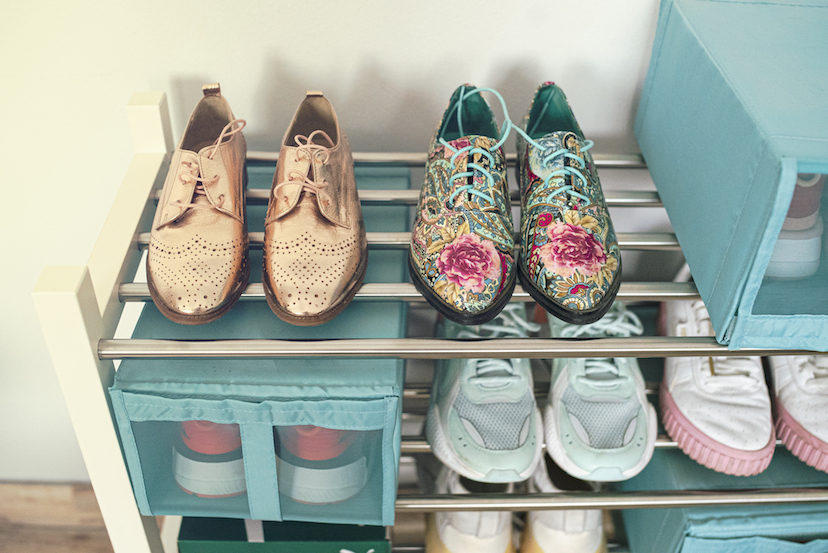
My favorite part, other than debuting and getting overly excited once a pair has arrived, is when I start placing them in my shoe boxes. I started following a certain routine, which is never getting rid of their original boxes because they’re helpful in keeping them safe and sound and away from the dust.

Another step I started following is meant only for precious kicks, but also to keep my shoe storage extra organized and looking pretty is buying the shoe boxes from IKEA. They’re really great for keeping your kicks protected, and the mesh on the front makes it easy to see and pick the pair you’d like. Hope this guide has been helpful to all of you cool sneakerheads!
Drop us a DM if you have more tips and guidelines on keeping our sneaks fresh. For some visuals on keeping your kicks clean, check out this link.


